Wonderfully Chewy! Ciabatta
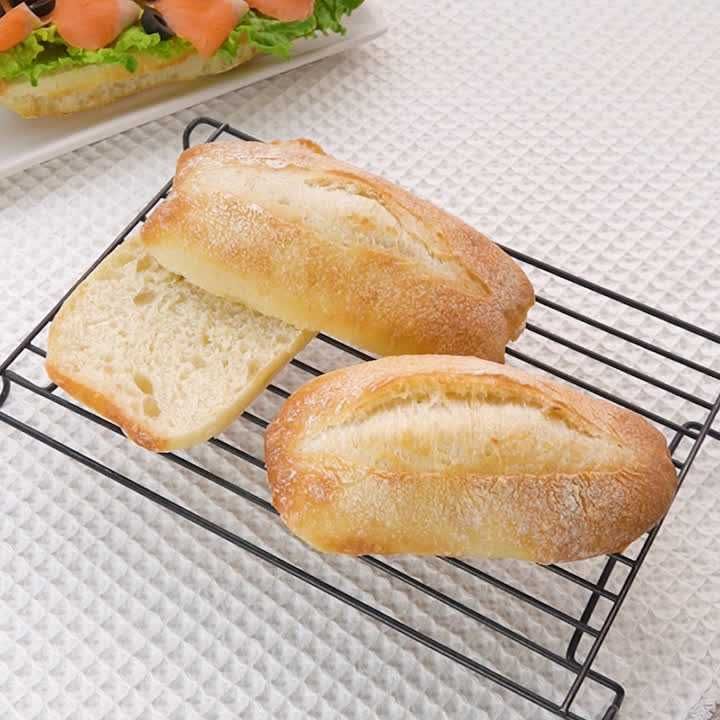
4.6

(37 reviews)

Time

180mins

Here’s a recipe for ciabatta, an Italian bread whose name means “slipper”! Its signature long shape makes it perfect for sandwiches. With its simple flavor, it pairs well with just about any filling. Try stuffing it with your favorite ingredients and enjoy!

  • Calories

    306kcal

  • Carbs

    60g

  • Fat

    1.3g

  • Protein

    10.1g

  • Net Carbs

    57.6g

  • Sodium

    668.1mg

* per serving

* Nutritional values are based on the Standard Tables of Food Composition in Japan and may differ from U.S. food composition data.

* Sodium is estimated from the recipe's salt content (1 g salt ≈ 393 mg sodium).

Ingredients [ Makes 3 ciabatta rolls ]

  • bread flour250 g
  • dry yeast1 teaspoon
  • salt5 g
  • water200 ml
Cooking notes

Please Note

Ingredients may vary by product and region. If you have food allergies or dietary restrictions, please review all ingredient labels carefully before cooking. Consult your doctor or a registered dietitian if you have any health concerns.

Instructions

1
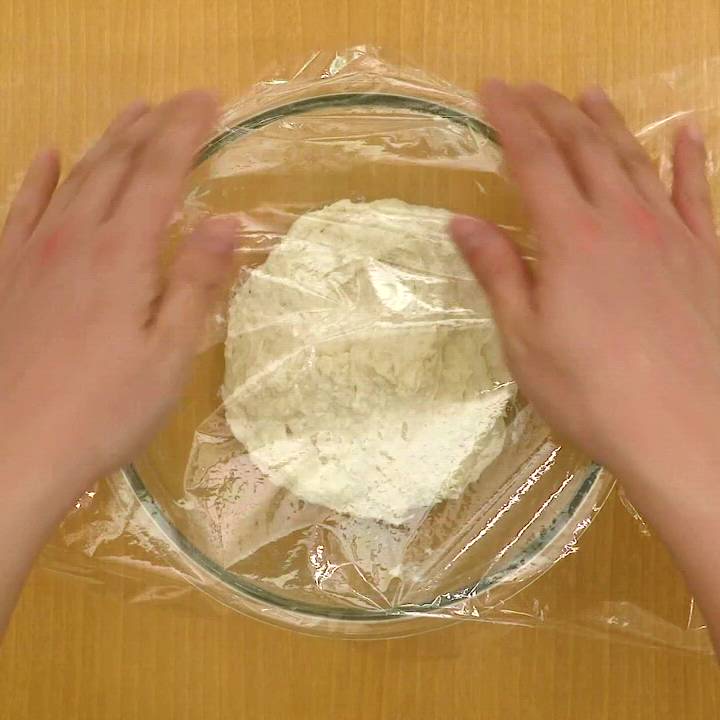
Put the bread flour and dry yeast in a bowl and mix well. Add the salt and water, then stir with a wooden spoon for about 5 minutes to make the dough. Cover with plastic wrap and let rest at room temperature for about 30 minutes.

Note:

Since this is a high-hydration, soft dough, knead it in the bowl.

2
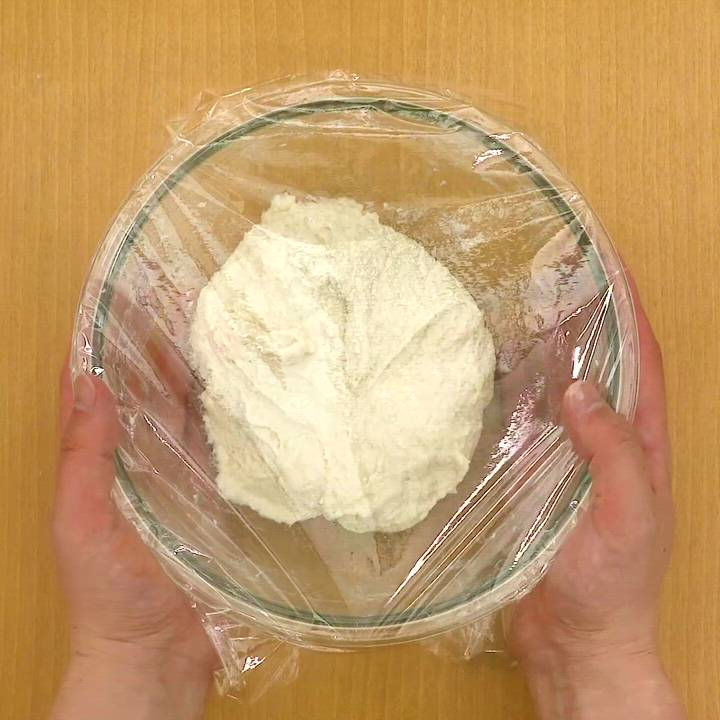
Remove the plastic wrap. Using a dough scraper, gently twist and fold the dough from the edges of the bowl toward the center. Cover again and let rest at room temperature for about 30 minutes.

3
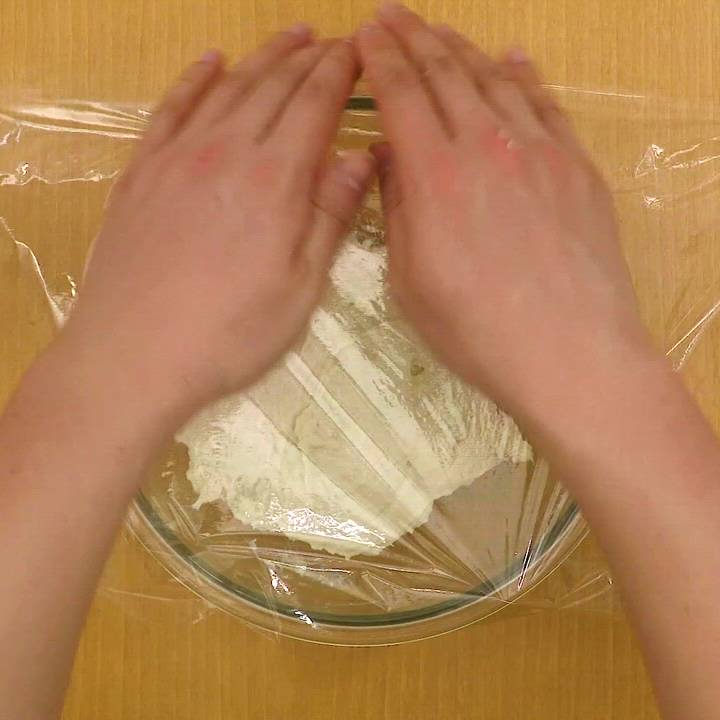
Knead again in the same way as in step 2. Cover with plastic wrap and let rest at room temperature for about 1 hour.

4
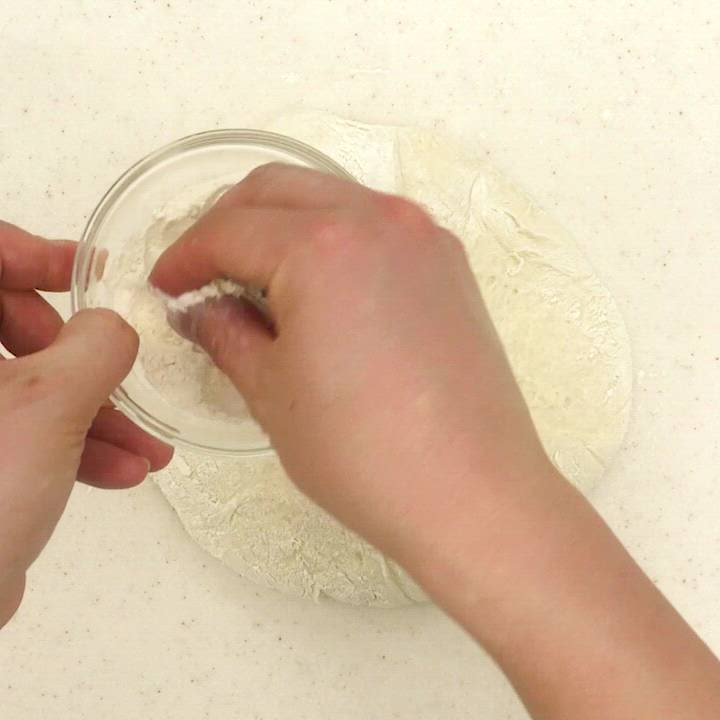
Dust the dough from step 3 with additional bread flour (not included in the ingredient list: as needed), then use a dough scraper to loosen the dough from the sides of the bowl. Transfer it to a work surface and dust again with flour.

5
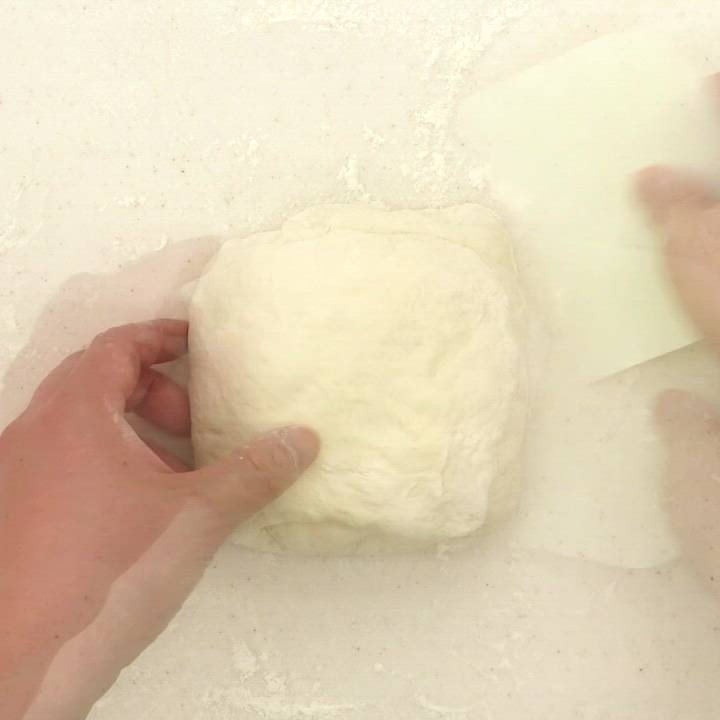
Gently flatten the dough into a round while pressing out the gas with your hands. Fold the top and bottom toward the center in thirds. Fold the left and right sides in the same way, then turn the dough over.

6
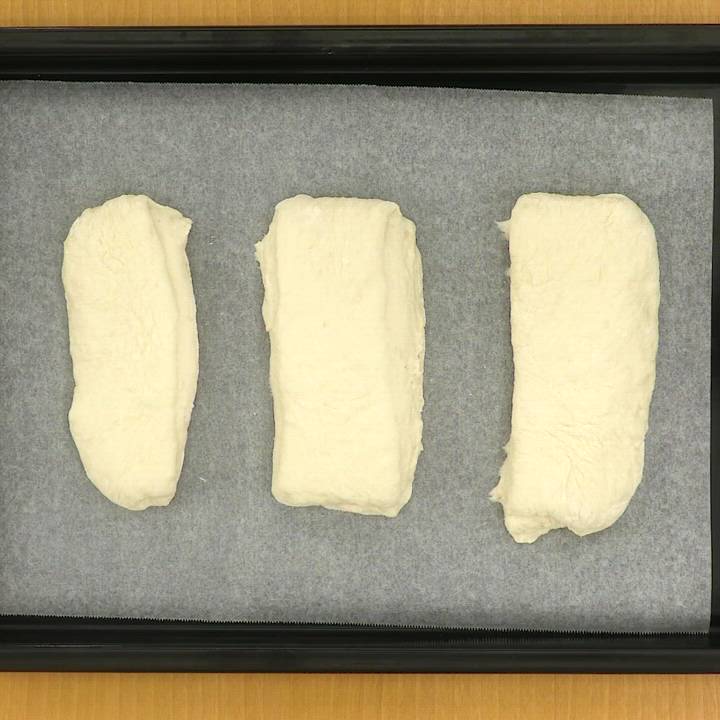
Gently stretch the dough into a rectangle about 15 x 20 cm, then cut it into 3 equal pieces with a bench scraper. Place them evenly spaced on a baking sheet lined with parchment paper.

7
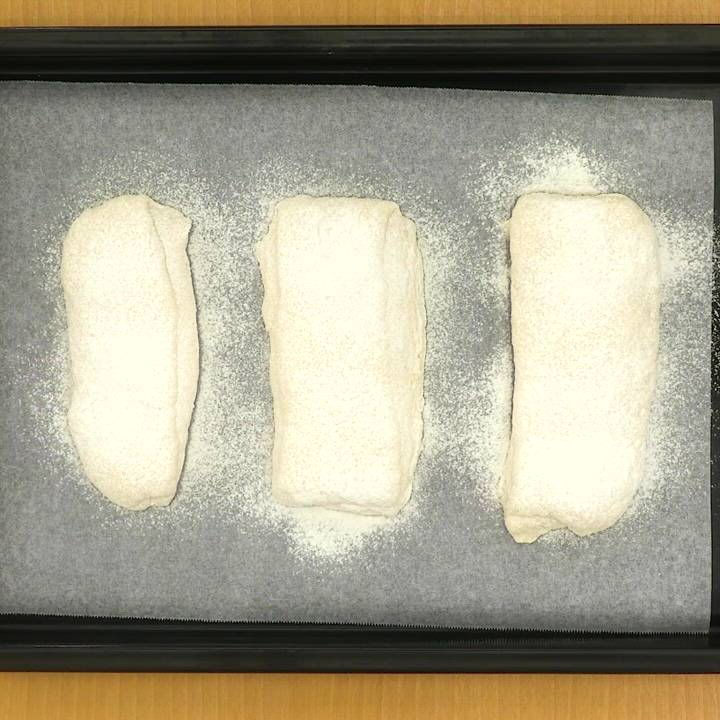
Dust the dough with flour for dusting, cover with plastic wrap, and let rest for about 20 minutes.

Note:

Preheat the oven to 475°F (240°C).

8
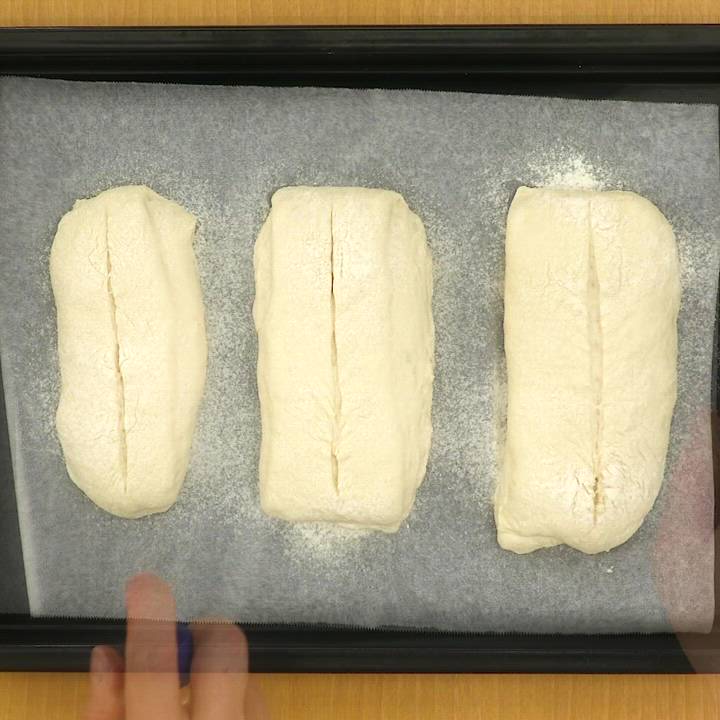
Make 1 slash on the surface of each piece of dough, then mist evenly with water (not included in ingredient list: as needed).

Note:

Misting the dough helps the surface bake up crisp.

9
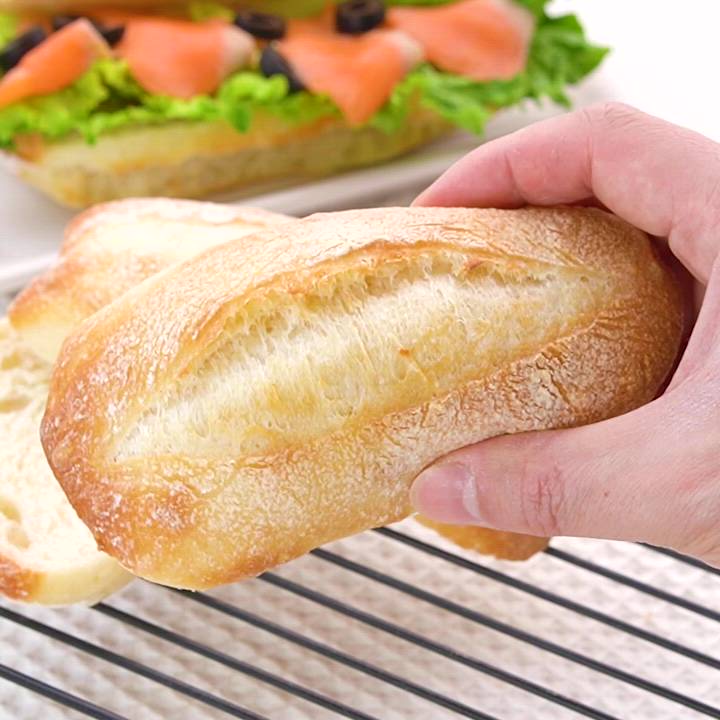
Bake in the preheated oven at 475°F (240°C) for 15 minutes.

Reviews

4.6

(37 reviews)

*Automatically translated from reviews posted in Japan.

  • 🇯🇵 User from Japan

    Three felt like too much for one meal, so I tried making six half-size ones instead. They were just as delicious, and that worked better for me.

  • 🇯🇵 User from Japan

    I misted it twice—once before baking and once during baking! It turned out delicious, with a crisp crust like a French baguette. The dough was on the soft side, but with a good dusting of flour, it didn’t stick to my hands and was easy to shape. The slashes also came out well when I dusted the knife with bread flour. I’d love to make it again!

  • 🇯🇵 User from Japan

    Crispy on the outside and chewy on the inside! It was absolutely delicious.

  • 🇯🇵 User from Japan

    They turned out crispy on the outside and chewy on the inside, and they were especially delicious fresh off the griddle! The next day, I lightly reheated them in the toaster and made sandwiches with them, which was also delicious.

  • 🇯🇵 User from Japan

    Crispy on the outside and chewy on the inside! I couldn’t get the cracks to form very well, but it still turned out delicious.

  • 🇯🇵 User from Japan

    It’s so easy, and I keep coming back to it again and again. It turns out crispy on the outside and chewy on the inside, and it’s so filling that when I make a sandwich with it for lunch, I’m not hungry again until dinner. Because it was soft, I found it easiest to cut slits in it with kitchen shears. I make a big batch, freeze it, and keep it on hand all the time.

  • 🇯🇵 User from Japan

    This was my first time making bread, but it turned out well. Since the room temperature was low, I placed it under the air conditioner and let it proof with plastic wrap over it, making sure a damp paper towel between the wrap and the dough would not stick. As other reviewers mentioned, I made the slashes with a razor and cut them a little deeper and more decisively, which I think helped give it a fairly nice appearance. The flavor and texture were both very good. I’ll make it again.

  • 🇯🇵 User from Japan

    This was my third time making it. The crust turned out crisp, and the inside was nice and chewy too!! It baked up really well again this time. I made it to go with beef stew and tomato-based braised dishes, and the leftovers were great toasted the next morning and eaten as sandwiches. It was hearty and delicious. It’s already become a staple in our home.

  • 🇯🇵 User from Japan

    I used half lisdore flour. My oven only goes up to 400°F (200°C), so I baked it for 30 minutes. The dough had a high moisture content, so it was hard to handle and difficult to shape. It turned out very crusty and chewy.

  • 🇯🇵 User from Japan

    I tried making it by replacing the bread flour with La Tradition Française French-style flour. It turned out really delicious.