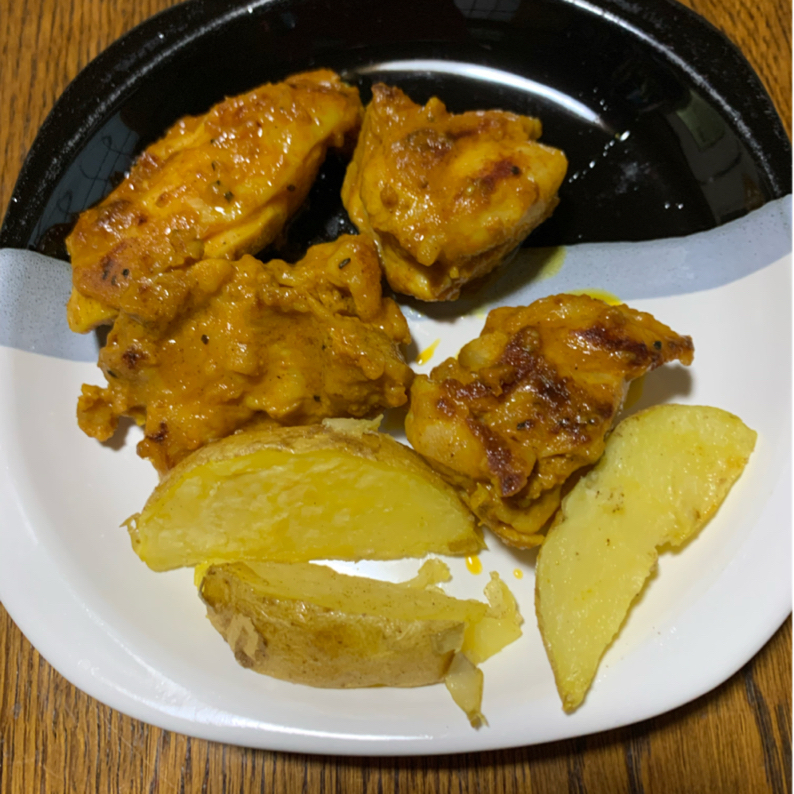
Easy and authentic Indian cooking! Tandoori Chicken

Easy and authentic Indian cooking!Tandoori Chicken
4.6
(446 reviews)Time
Just marinate it in yogurt and other seasonings, then cook it in a frying pan! Here’s an easy tandoori chicken recipe. It’s sure to be a hit for entertaining at home parties or at a barbecue. Ketchup and curry powder give it a mild flavor with a gentle hint of spice.
Calories
337kcal
Carbs
4.6g
Fat
24.3g
Protein
21.6g
Net Carbs
3.9g
Sodium
550.2mg
* per serving
* Nutritional values are based on the Standard Tables of Food Composition in Japan and may differ from U.S. food composition data.
* Sodium is estimated from the recipe's salt content (1 g salt ≈ 393 mg sodium).
Ingredients [ 4 servings ]
- chicken thigh2 pieces (about 500 g)
- salt and peppera pinch
- olive oil2 tablespoons
Seasonings
- plain yogurt (unsweetened)3 tablespoons
- ketchup2 tablespoons
- curry powder1 tablespoon
- salt½ teaspoon
- grated garlic1 teaspoon
- grated ginger1 teaspoon
Please Note
Ingredients may vary by product and region. If you have food allergies or dietary restrictions, please review all ingredient labels carefully before cooking. Consult your doctor or a registered dietitian if you have any health concerns.
Instructions
1
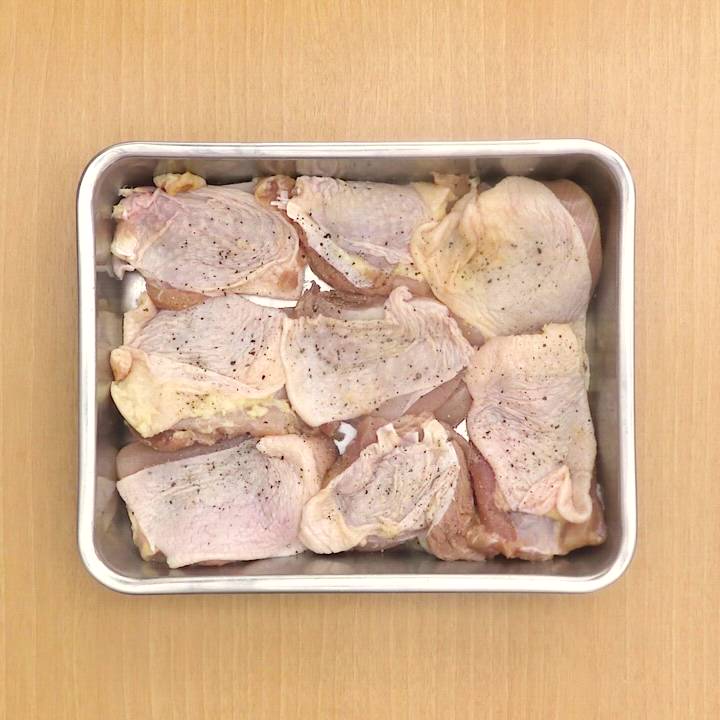
Cut the chicken into 4 pieces. Season both sides with salt and pepper and rub it in.
Note:
Cutting the chicken into larger pieces helps prevent it from shrinking too much and keeps it juicy.
2

Put the ingredients marked with ☆ into a plastic bag and mix. Add the chicken, seal the bag, and massage the seasonings into the chicken from outside the bag. Let it rest in the refrigerator for about 1 hour.
Note:
Letting the seasonings soak in and resting the chicken makes it tender and juicy. If you want to shorten the marinating time, poke several holes in the chicken with a fork and let it rest for about 30 minutes.
3
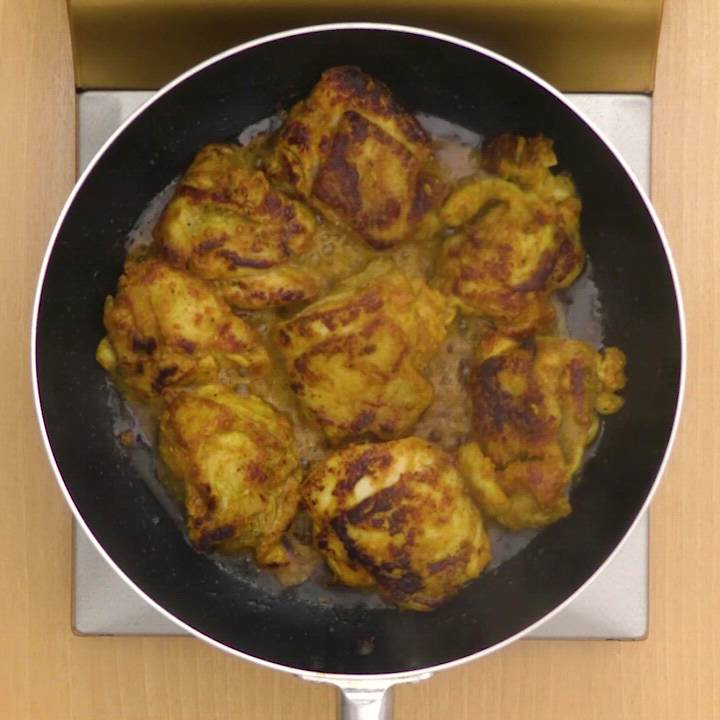
Heat the olive oil in a frying pan over medium heat. Arrange the chicken from step 2 skin-side down and cook until browned. Flip it over, cover, and steam-fry over medium-low heat for about 4 minutes, until cooked through.
Reviews
4.6
(446 reviews)*Automatically translated from reviews posted in Japan.
🇯🇵 User from Japan
I made 2 servings with one 400 g piece of chicken. Even though it was the same chicken I always buy, it turned out plump and thick after cooking, and it was wonderfully tender! To keep my hands from getting messy, I put all the seasonings into a zip-top bag and massaged them together. Then I added the chicken and massaged it again. Once I transferred the chicken to the frying pan, I could just toss out the bag with the seasonings still in it! I cooked it in a frying pan lined with foil, so cleanup was super easy too. It also developed a delicious-looking browned surface, so it was a win-win 🎵 It was so tasty that I’ll definitely make it again!! (The marinating time was about 3 hours.) Update (Aug. 2022): This time, I marinated it frozen for 2 weeks! It was still just as delicious! If anything, the chicken felt even more tender 😋
🇯🇵 User from Japan
I made a little more than the amount listed. It was easy to make, and I baked it in the oven. It was easier than washing a frying pan. It was simple and delicious! I’ll make it again (*^^*)
🇯🇵 User from Japan
This recipe was a hit with my husband. It also works well as a side dish for bento. Easy and delicious! I’ll definitely make it again. It was convenient because I could prep it in the morning and just bake it when I got home from work. I stir-fried onion and red bell pepper with the leftover sauce and served potato salad on the side, which turned out to be absolutely the right choice. Since the flavor is on the stronger side, the potato salad made a great palate cleanser.
🇯🇵 User from Japan
I used the cooking method here as a reference ✨
🇯🇵 User from Japan
My seasoning had been feeling repetitive lately, so this was a nice change of pace with a different flavor, and it was delicious!
🇯🇵 User from Japan
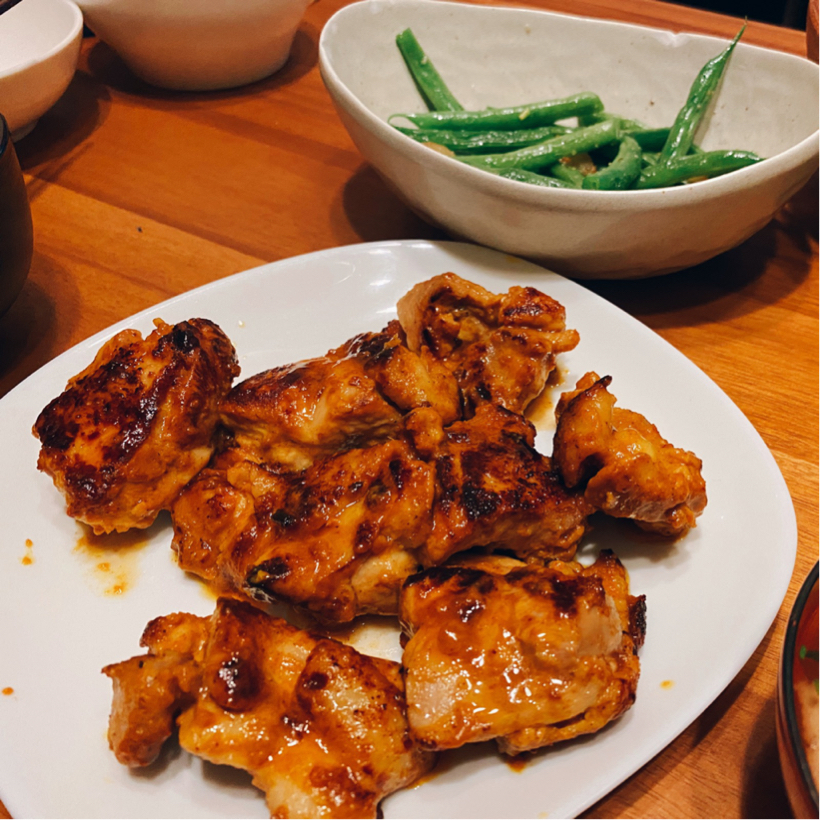
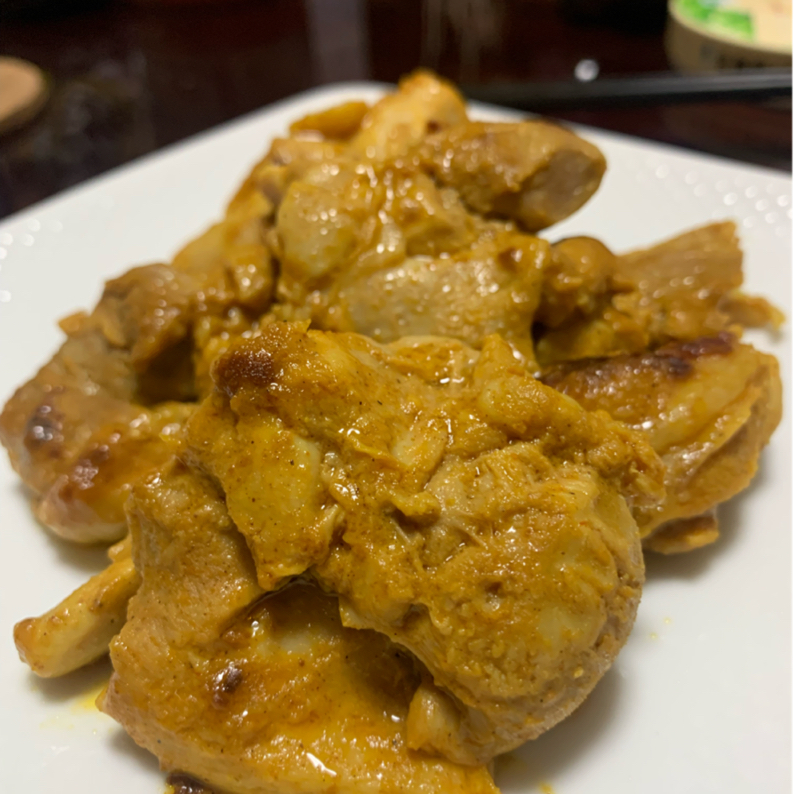
It turned out delicious just by following the recipe! When marinating the chicken, I poked holes in the meat with a fork and let it rest for 3 hours before cooking so the flavor would soak in better. I’m not good with spicy food, but it had a mild heat that went really well with rice!
🇯🇵 User from Japan
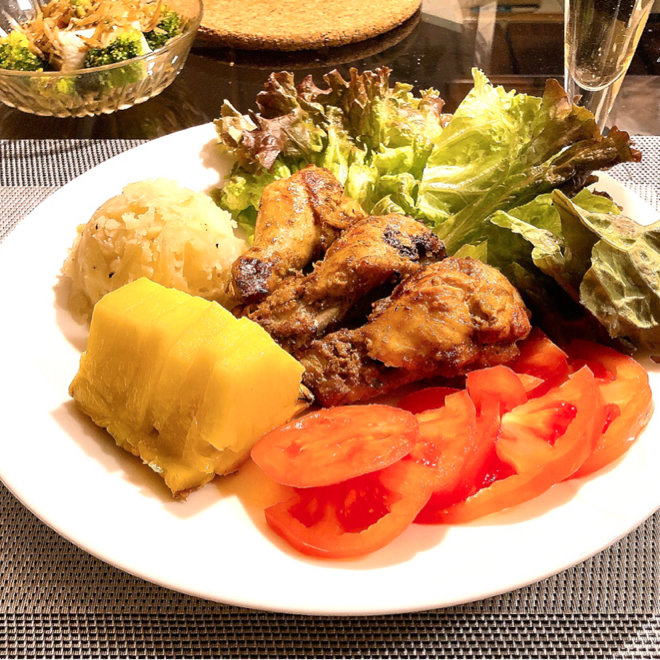
I seasoned chicken that was close to its expiration date, pressed out the air in the plastic bag so it was in close contact with the meat, and cooked it the next day. Based on everyone’s reviews, I also added herb seasonings such as basil, garam masala, oregano, and rosemary to the marinade. I baked it in the oven on a sheet of cooking parchment. Cleanup was easy, and unlike using a frying pan, I didn’t have to stay by the heat the whole time. I was worried the meat might turn tough, but it turned out tender and juicy. I served it as a one-plate meal with tomato, potato salad, and pineapple on the side.
🇯🇵 User from Japan
I froze the chicken after rubbing in the seasonings, so on busy days all I had to do was cook it ✨ Before I knew it, it had been in the freezer for about a month 😅 I moved it to the refrigerator the night before to thaw, and when cooking, I lined the frying pan with a foil sheet and cooked it without oil. The thigh meat turned out incredibly tender and so delicious 🥳 It might have been nice to put rice underneath the tandoori chicken too 😌
🇯🇵 User from Japan
I used half the amount of chicken, so I cut all the seasonings in half too. It takes a little longer to cook than I expected. Personally, I think adding a bit more sweetness would make the flavor more balanced, so I’m thinking of adding a little honey next time.

🇯🇵 User from Japan
It’s quite easy since you just let it marinate❗️ We make Caspian Sea yogurt at home, so I use that every time. This time, after reading the reviews, I added a little garam masala too. It was delicious, and the meat turned out tender 😊 Next time, I think I’ll make two batches and freeze one. My husband and mother-in-law both said the meat was very tender 👍